• Anasayfa
  • .
  • Blog
  • .
  • Ajustes de atenuación y atenuación de audio en FL Studio

Ajustes de atenuación y atenuación de audio en FL Studio

Ajustes de atenuación y atenuación de audio en FL Studio

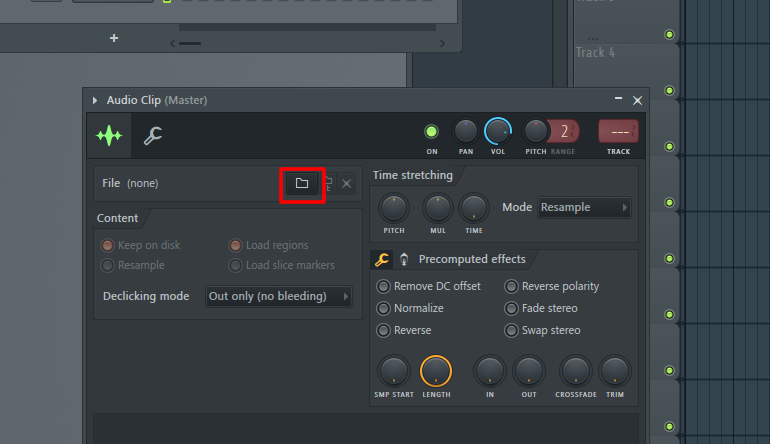
Sound thinning or thickening has often been a life saver for that project, unless we have a bassist or a low-pitched vocalist on most projects. Since some advertisements are in promotional videos, thick or thin sounds may be required. For this, let's open your program for thickening or thinning in the FL Studio audio production program.
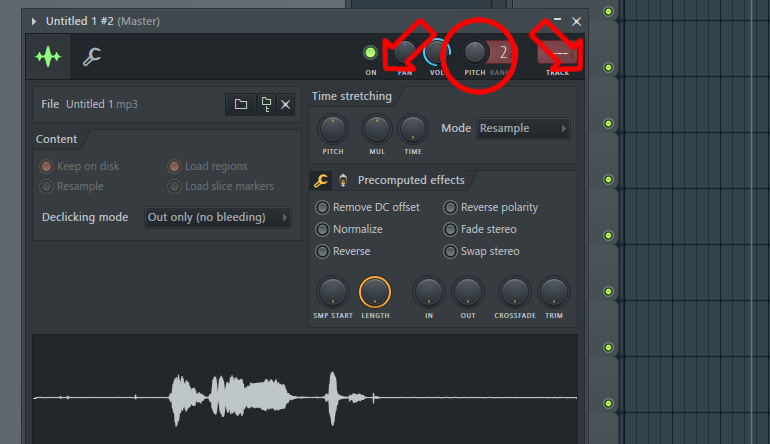
Respectively;

  • Let's click on the (+) icon from our Channel rack area
    seskalinlastirma1
  • Misc altından Audio Clip seçelim
    seskalinlastirma2

  • Click on the file icon
    seskalinlastirma3

  • Let's choose our audio file
  • Now we can rotate our PITCH button left and right to make our voice thick and thin
  • We can do this by moving the mouse up and down while pressing on it.
    seskalinlastirma4

  • If the sound is not thick or thin enough, we can still adjust the MUL setting from the Time stretching field.
    seskalinlastirma5

  • You don't need to turn up the MUL setting too much, the sound will be bad
  • With fine tuning you can get the sound you want
  • If you turn it on too much, you will disrupt the speed of the sound.
Türkçe English Deutsch Dansk Español Română